ISPConfig est un logiciel libre de panneau de configuration pour serveur. (Vous connaissez peut-être d’autres panneaux : Plesk, CPanel, Directadmin, Webmin…)
ISPConfig va vous assister pour la configuration de votre serveur.
Mais il ne remplace pas le besoin d’interventions ou de maintenance du serveur comme la sécurisation, la sauvegarde.
Le serveur doit être vierge de toute configuration spéciale !
Remarques générales : nous n’allons pas installer tous les services que peut gérer ISPConfig car ce n’est pas une bonne idée. Et nous allons garder certaines parties à faire en dehors d’ISPConfig (dans d’autres tutoriels).
1. Connexion au serveur
Depuis votre terminal, connectez-vous au serveur. Si vous êtes déjà bloqué à cette étape 🙂 alors commencez par chercher un autre tutoriel.
k822@lap21:~ $ ssh debian@vps-xxx.vps.ovh.net
On se connecte avec l’administrateur root et on y reste :
debian@vps-bda2f4b6:~$ sudo su -
2. Nommage du serveur
Vous *devez* renommer le serveur avec un nom utilisant votre propre nom de domaine sinon vous risquez d’avoir un problème pour créer avec l’accès sécurisé à ISPConfig.
Donc cela suppose que vous avez réglé votre zone DNS pour ajouter un nom pour ce serveur. Si vous êtes lboqué ici, cherchez un autre tutoriel en premier lieu.
Mon serveur de démo s’appelle dmo1lib.netadm.ovh donc remplacez ce nom par le nom que vous avez donné au serveur.
hostnamectl set-hostname dmo1lib.netadm.ovh
3. Pré-installation des services
ISPConfig détecte les services installés et adapte sa configuration en fonction.
Nous allons donc pré-installer les services du profil de serveur que l’on souhaite :
- serveur web : NGINX
- pas de serveur FTP
- service d’envoi de mail avec postfix (à la place d’exim)
Service de messagerie Postfix
DEBIAN_FRONTEND=noninteractive apt-get -q -y install postfix-mysql
Service de base de données MariaDB
DEBIAN_FRONTEND=noninteractive apt-get -q -y install mariadb-server mariadb-client
Service Web NGINX
DEBIAN_FRONTEND=noninteractive apt-get -q -y install nginx-extras
Service PHP-FPM et moteur PHP
- php-opcache : cache des scripts php pré-compilés
- php-redis : cache object
- php-tidy : manipulation de fichier html/xhtml/xml
DEBIAN_FRONTEND=noninteractive apt-get -q -y install php php-cli php-curl php-fpm php-gd php-php-gettext php-imagick php-imap php-intl php-mbstring php-mysql php-opcache php-pear php-pspell php-redis php-soap php-sqlite3 php-tidy php-xml php-xmlrpc php-xsl php-zip
4. Installation d'ISPConfig
Téléchargement
					cd /tmp
wget http://www.ispconfig.org/downloads/ISPConfig-3-stable.tar.gz
tar xfz ISPConfig-3-stable.tar.gz
cd ispconfig3_install/install/
Installation
php -q install.php
Quand il y a un texte entre crochet et rien ensuite sur la même ligne, c’est que j’ai simplement validé le choix par défaut par entrée.
--------------------------------------------------------------------------------
 _____ ___________   _____              __ _         ____
|_   _/  ___| ___ \ /  __ \            / _(_)       /__  \
  | | \ `--.| |_/ / | /  \/ ___  _ __ | |_ _  __ _    _/ /
  | |  `--. \  __/  | |    / _ \| '_ \|  _| |/ _` |  |_ |
 _| |_/\__/ / |     | \__/\ (_) | | | | | | | (_| | ___\ \
 \___/\____/\_|      \____/\___/|_| |_|_| |_|\__, | \____/
                                              __/ |
                                             |___/
--------------------------------------------------------------------------------


>> Initial configuration

Operating System: Debian 11.0 (Bullseye) or compatible

    Following will be a few questions for primary configuration so be careful.
    Default values are in [brackets] and can be accepted with <ENTER>.
    Tap in "quit" (without the quotes) to stop the installer.


Select language (en,de) [en]:

Installation mode (standard,expert) [standard]: expert

Full qualified hostname (FQDN) of the server, eg server1.domain.tld  [isploc.netadm.ovh]:

MySQL server hostname [localhost]:

MySQL server port [3306]:

MySQL root username [root]:

MySQL root password []:

MySQL database to create [dbispconfig]:

MySQL charset [utf8]:

The next two questions are about the internal ISPConfig database user and password.
It is recommended to accept the defaults which are 'ispconfig' as username and a random password.
If you use a different password, use only numbers and chars for the password.

ISPConfig mysql database username [ispconfig]:

ISPConfig mysql database password [50ceb12f63ebdcf0fcb2573259ef1287]:

Shall this server join an existing ISPConfig multiserver setup (y,n) [n]:

Adding ISPConfig server record to database.

Configure Mail (y,n) [y]: n

[WARN] autodetect for Jailkit failed
Force configure Jailkit (y,n) [n]:

Skipping Jailkit

[WARN] autodetect for pureftpd failed
Force configure pureftpd (y,n) [n]:

Skipping pureftpd

Configure DNS Server (y,n) [y]: n

The Web Server option has to be enabled when you want run a web server or when this node shall host the ISPConfig interface.
Configure Web Server (y,n) [y]:

Configuring nginx
[WARN] autodetect for OpenVZ failed
Force configure OpenVZ (y,n) [n]:

Skipping OpenVZ

Configure Firewall Server (y,n) [y]: n

[WARN] autodetect for Metronome XMPP Server failed
Force configure Metronome XMPP Server (y,n) [n]:

Skipping Metronome XMPP Server

[WARN] autodetect for Fail2ban failed
Force configure Fail2ban (y,n) [n]:

Skipping Fail2ban

Install ISPConfig Web Interface (y,n) [y]:

Installing ISPConfig
ISPConfig Port [8080]:

Admin password [17997c1b]:

Do you want a secure (SSL) connection to the ISPConfig web interface (y,n) [y]:

Checking / creating certificate for dmo1lib.netadm.ovh
Using certificate path /etc/letsencrypt/live/dmo1lib.netadm.ovh
sh: 1: cannot open /dev/tcp/127.0.0.1/80: No such file
--2021-09-20 07:48:09--  https://get.acme.sh/
Resolving get.acme.sh (get.acme.sh)... 2606:4700:3032::6815:223e, 2606:4700:3031::ac43:c710, 104.21.34.62, ...
Connecting to get.acme.sh (get.acme.sh)|2606:4700:3032::6815:223e|:443... connected.
HTTP request sent, awaiting response... 200 OK
Length: unspecified [text/html]
Saving to: ‘STDOUT’

-                                 [ <=>                                             ]     937  --.-KB/s    in 0s

2021-09-20 07:48:09 (8.37 MB/s) - written to stdout [937]

Installed acme.sh and using it for certificate creation during install.
Using nginx for certificate validation
acme.sh is installed, overriding certificate path to use /root/.acme.sh/dmo1lib.netadm.ovh
Symlink ISPConfig SSL certs to Postfix? (y,n) [y]:

Configuring Apps vhost
Configuring DBServer
Installing ISPConfig crontab
Detect IP addresses
Restarting services ...
Installation completed.
Accès Web
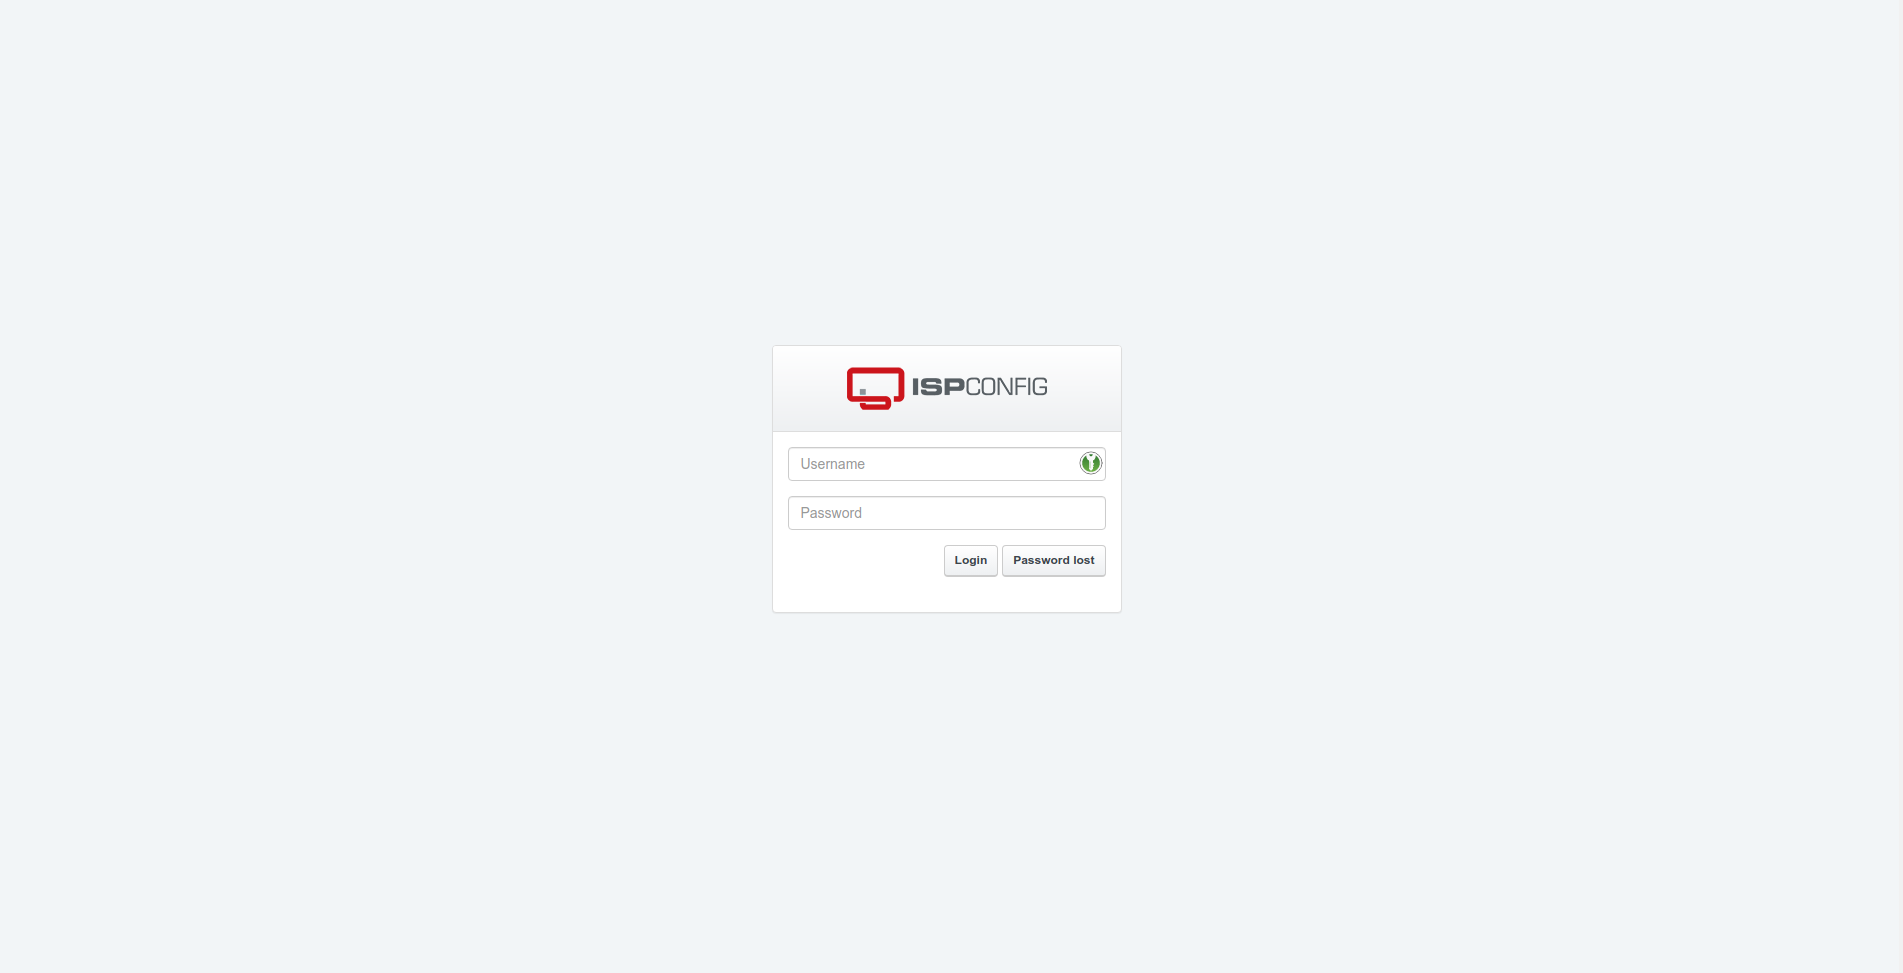
Maintenant avec votre navigateur, accéder à l’URL d’ISPConfig (remplacez le nom et gardez le numéro de port) : https://monserveur.mondomain.com:8080
Le mot de passe été indiqué dans l’installation d’ISPConfig. Il faudra le changer juste après la connexion.